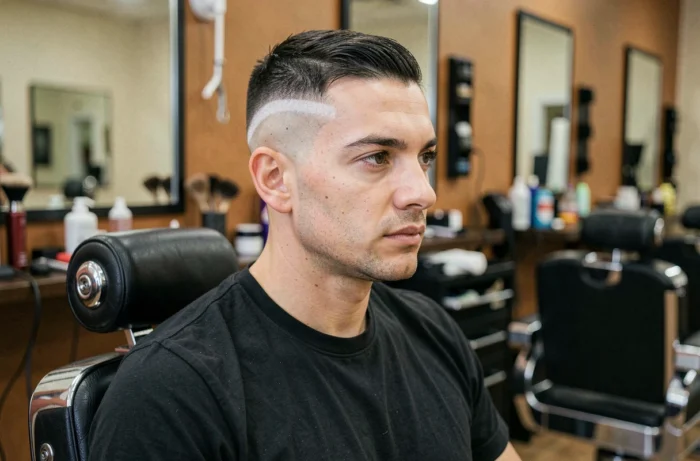
The fade to skin involves blending the hair from the bare skin (0 mm) to a longer length on the top of the head, without any visible lines of demarcation. This technique of fade to 0 mm requires a good understanding of the clipper lever and a methodical motion, but it remains accessible at home with the right equipment.
Clipper lever and cutting lines: the mechanics of the fade to skin
Before touching the hair, it’s important to understand a component that most beginners overlook: the side lever of the clipper. This lever modifies the distance between the fixed blade and the moving blade, allowing for intermediate lengths between two guards.
Specifically, a grade 1 guard with the lever closed cuts shorter than the same guard with the lever open. The lever creates the half-lengths that make the fade invisible. Without this manipulation, transitioning from one guard to another leaves a sharp line, the exact opposite of the desired result.
To visualize the work clearly, mentally draw three horizontal lines around the head: one at the bottom of the temples, one above the ears, and one halfway between the ears and the top of the head. These lines delineate the areas where you will change guards or lever positions. A complete guide for achieving a short fade to skin for men details these levels zone by zone with the corresponding settings.
Fade to skin at home: progressing from bottom to top
Always start with the nape and sides, never the top. The lowest area is worked without a guard, lever closed, to expose the skin. The motion starts from the nape and goes up one to two centimeters maximum, with a wrist movement that “flicks” (lifts the clipper off the head at the end of the stroke).
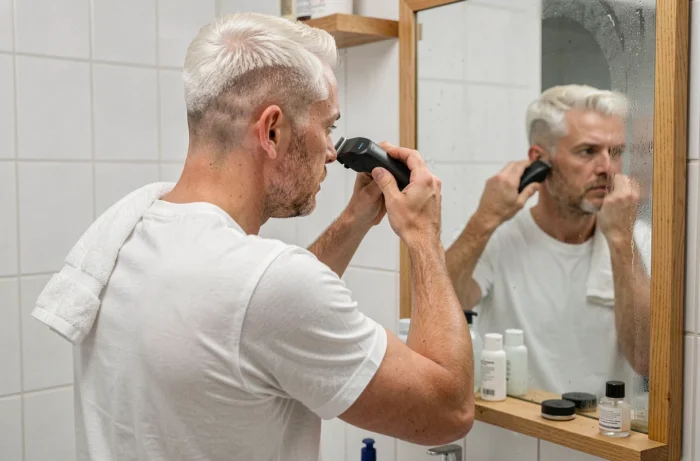
This lifting motion is the key to a successful fade. If you keep the clipper flat against the head while going too high, you create a shaved band where there should already be length. The wrist gradually rises with each pass to soften the transition.
Then move up a notch: grade 0.5 or grade 1 guard with the lever closed, depending on your clipper. Repeat the same motion starting slightly above the previous area. The goal is to overlap the areas to avoid lines. Each new length should encroach on the previous one by about one centimeter.
Managing the back of the head without a professional mirror
Working on the back of your own head remains the main difficulty when doing it solo. A handheld mirror placed facing a wall mirror gives a correct angle, but the reversed view can be disorienting at first.
- Place the handheld mirror on a stable surface rather than holding it, to keep both hands free on the clipper
- Work in small vertical sections starting from the center of the nape towards the sides, which limits symmetry errors
- Regularly run your hand over the shaved area to feel for demarcations by touch, a more reliable indicator than sight
Common mistakes with a short men’s fade and corrections
The visible line of demarcation between two lengths is the most common flaw. It occurs when the lever has not been used in an intermediate position between two guards. The correction involves going over the area with the lower guard, lever open, making short and light movements.
Another trap: raising the fade too high on the temples. A short fade to skin should remain low, generally below the natural line of the temples. Going beyond that creates a disproportionate shaved effect, especially if the top of the head is very short.
Symmetry between the right and left sides is checked by running a finger along the transition line on both sides simultaneously. If one side is higher than the other, correct the lower side by slightly raising the fade, never the opposite (you cannot “lower” a fade that is too high).
Maintaining the fade to skin: frequency and touch-ups between cuts
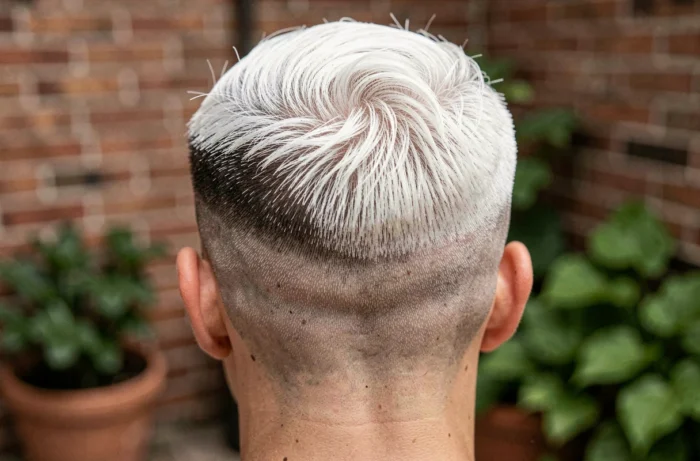
A clean fade to skin loses its sharpness quickly. The regrowth brings back the demarcations within a few weeks. Plan for a touch-up every two to three weeks to keep a clean fade.
The touch-up at home does not redo the entire fade. It focuses on two areas:
- The contours (nape, sideburns, behind the ears) that grow back unevenly and blur the cutting line
- The lowest area of the fade, shaved to 0 mm, where regrowth is most visible as it transitions from white to dark gray
- The top of the fade generally does not require touch-up, as the transition there is longer and thus more tolerant to regrowth
In recent years, the dominant trend in French barbershops has shifted towards the textured fade or drop fade, where the fade line descends behind the ear. The principle of touch-up remains the same, but the drop fade requires an additional motion to extend the curve of the fade towards the nape.
One last technical point often overlooked: clean and oil the blades of your clipper after each use. Dirty blades pull the hair instead of cutting it, which makes the fade uneven and irritates the skin. Two drops of oil on the moving blade are enough to maintain a clean cut and prolong the lifespan of the device.